We both absolutely love to entertain and when we do, one of our favorite beverages to serve is a nice, chilled glass of champagne. We like to mix it up and not only offer a classic glass of champagne but also provide various juice options so guests can spruce up their drink. A DIY Mimosa bar is a great option to allow guests to create their own drinks to their personal liking. This works especially well for brunches, showers and girls’ only events.
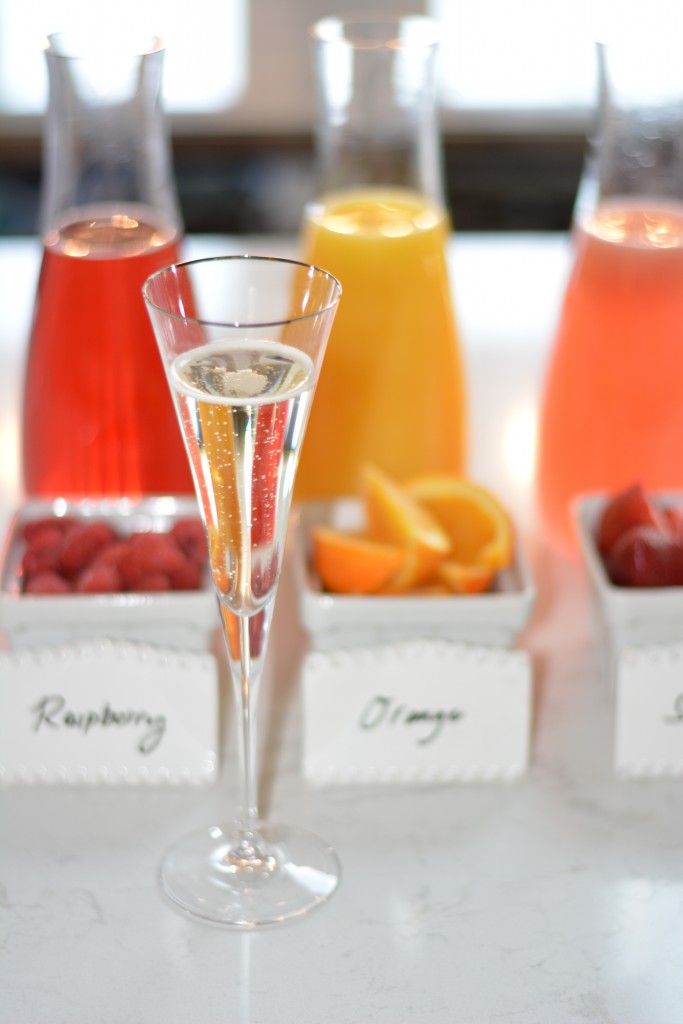
There are numerous types of juices you can use for your bar. This time around, we chose a raspberry lemonade, a strawberry juice and the traditional classic, orange juice. Most fruit juices make for a delicious addition to a glass of champagne.
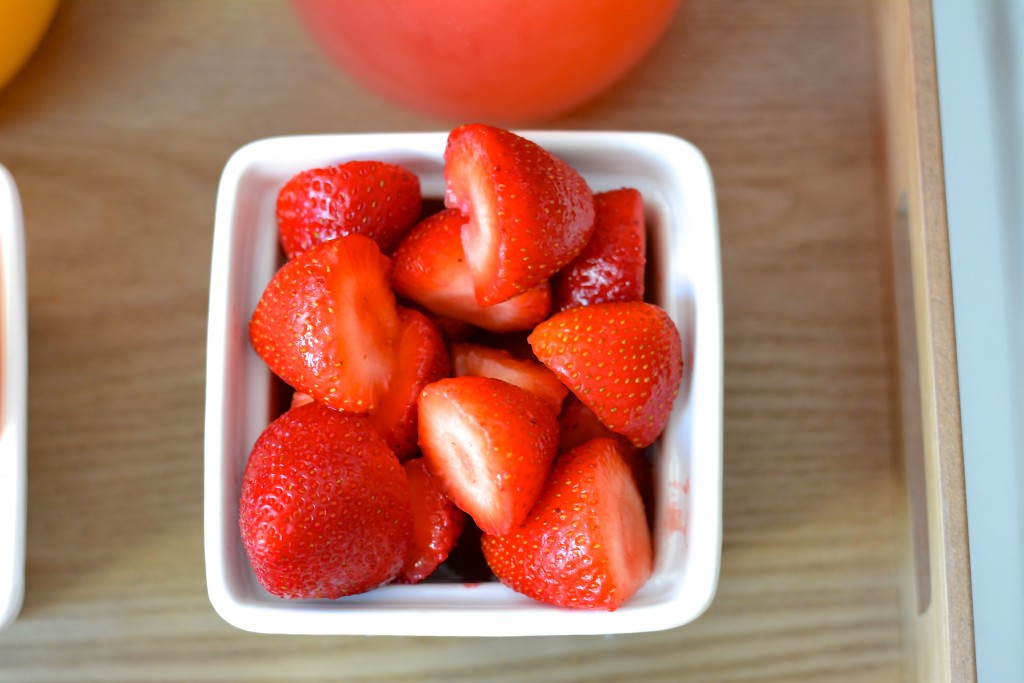
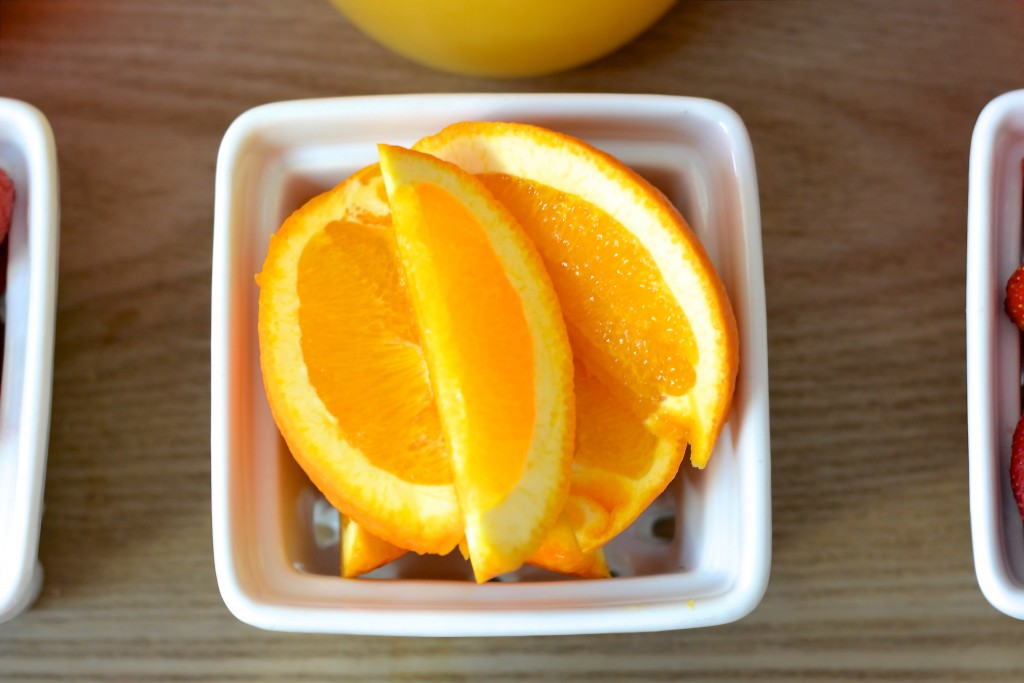
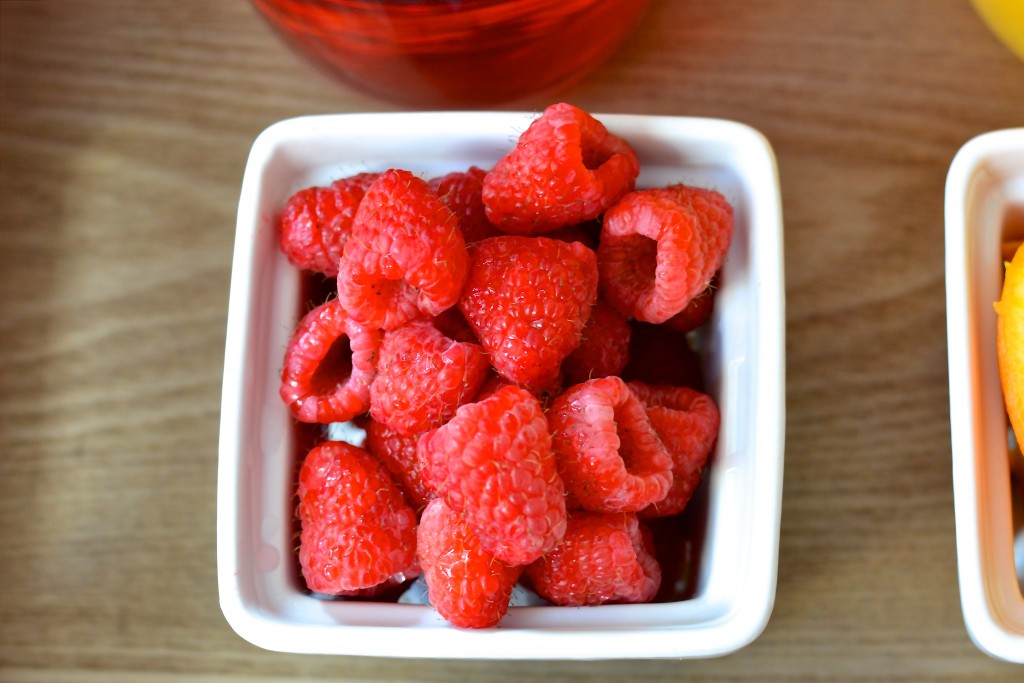
First, we begin by slicing up fresh fruit that we will place in front of the carafes filled with juice. We made sure that the fruit coincided with the particular juice that it was set in front of this time, however, if offering lemonade, blueberries can prove a delicious option.
We then provide labels for the juices. Today, we used these adorable erasable ceramic place card markers to identify the various juices.
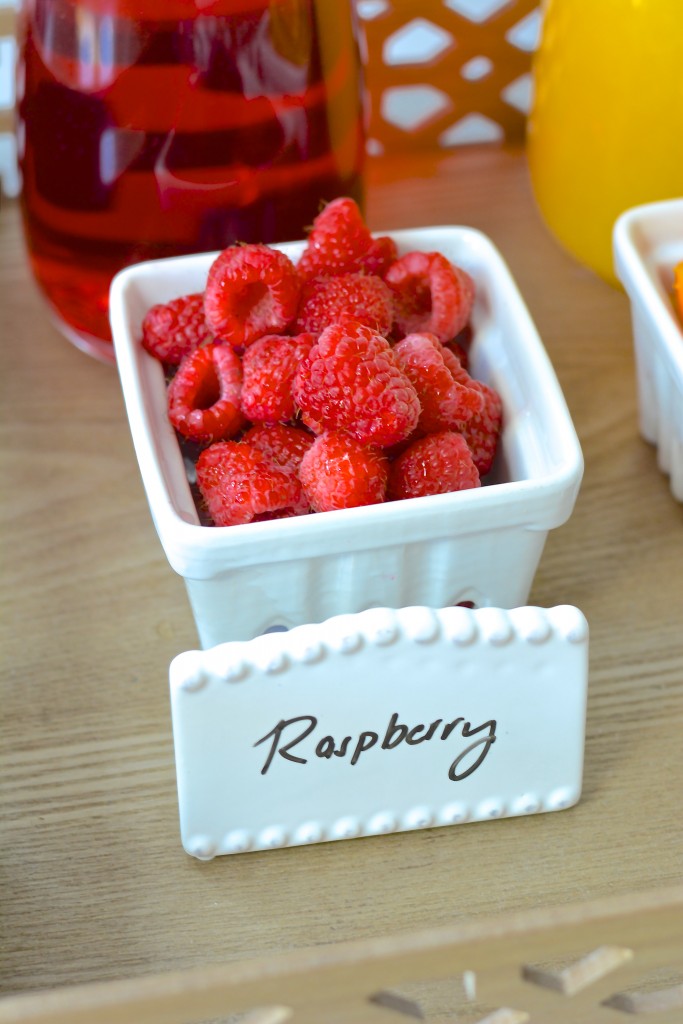
These ceramic place markers are no longer available but you can find similar ones here via Sur La Table
You can set up your Mimosa bar on a tray to add an extra layer of texture…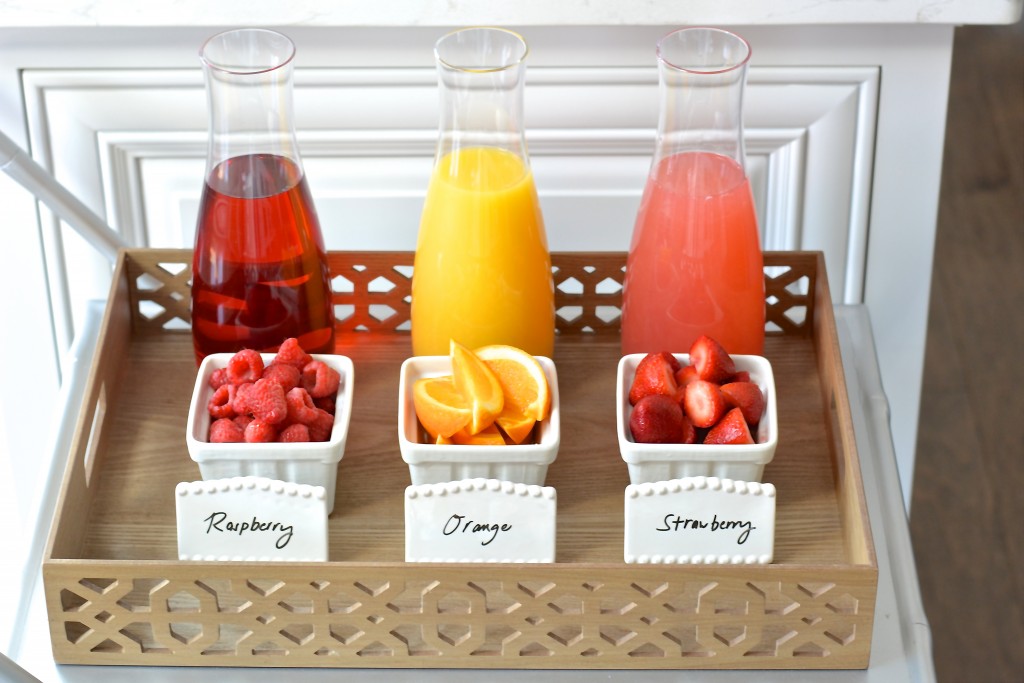
…or place the bar directly on the countertop, flanked by champagne glasses. This option allows guests to easier serve themselves if you are busy entertaining other guests.
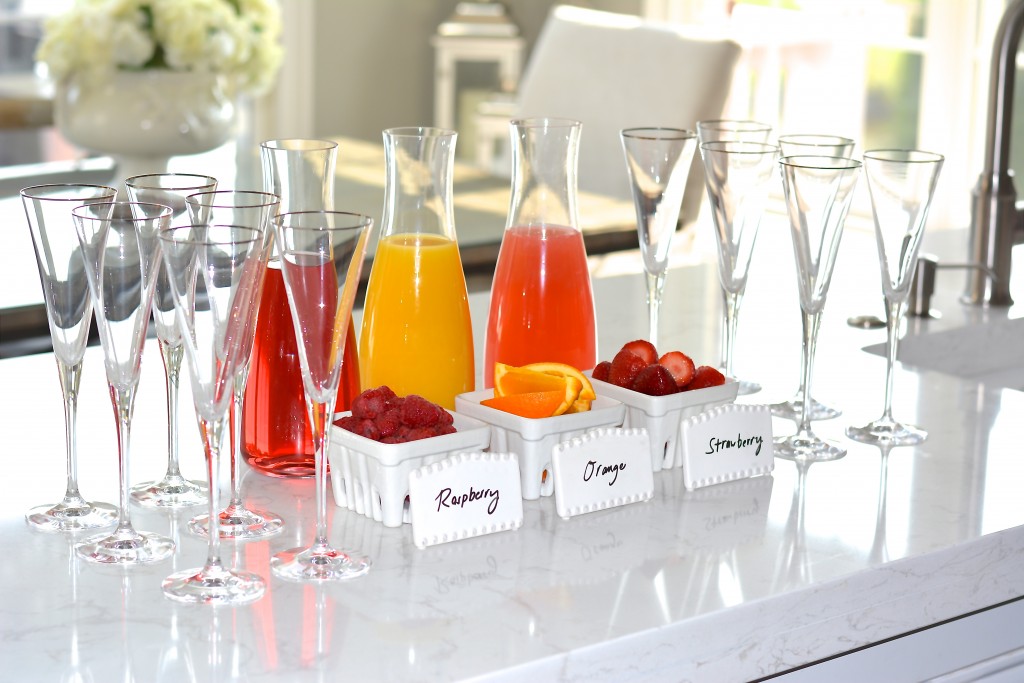
Ceramic Farmer’s Market Baskets found here
There is obviously no “wrong way” to make your Mimosa bar. It is a cute way to add a color and fun to any party and also provides a great non-alcoholic alternative for your guests!
Just don’t forget to pour yourself a drink!
xoxo
Tiffany & Lindsey
